
In order to get any site onto the internet you just need three components. You need hosting, a domain and a database. If you're using a service like Webflow or Squarespace they'll do all of this for you, but doing it yourself is quite easy and cheaper.
In layman's terms, hosting is the physical machine that your website is stored on that others connect to in order to access your site. Unless you're savvy enough to set up a server and willing to have it turned on and running all of the time, chances are you'll need to purchase this from a hosting provider.
When selecting a hosting provider there are a lot of options but there isn't too much to take into consideration. The only things you should take into account are the cost, how much space you get and how many sites you get to host with them.
Most reputable hosting sellers are fine and you can't go too wrong, however just be wary of cutting too many costs and going with a service too cheap and untested that they may have poor customer service or their service may go down from time to time - bringing your site down with it.
Hosting providers usually offer two kinds of hosting - shared and dedicated. Shared is fine for most of your needs as an individual.
Basically shared means that your website is on a physical storage device with a bunch of other people's websites so you pay less, with you and these other people splitting the costs behind the scenes.
This usually has no impact on your hosting experience but it does mean what other people are doing with their websites in theory could affect your website - for example if all of the other website owners on your shared hosting tripled the size of their sites at the same time, it could slow yours down. This is also extremely unlikely and your hosting provider would rectify this fairly quickly.
Dedicated hosting on the other hand, gives your website it's own dedicated machine and shares it with no other person's website which ensures that it remains speedy and allows you to have a much larger website, but the costs of this are higher as a result.
Here's some options as a starting point. All are competitively priced and have solid support as of writing (2024).
In terms of the major options in the market I'd only avoid GoDaddy. Their servers can be particularly slow and they engage in very consumer unfriendly behaviour like refusing to give you your domain back if you decide to change services and raising their prices on you without proper notification.
Once you have your hosting selected, you'll need a domain which you purchase through a domain registrar. Your domain is the address that your site will live on - what users will type into their searchbar to find you site.
Some hosting companies will also let you register your domain with them as well, but personally I prefer to do this through seperate companies where possible. More specialised registrars tend to have a broader range of options available and if you ever decide to change hosting it's nice to just have these clearly separated. You don't need to worry about accidentally losing your domain by cancelling or transferring your hosting.
There's no real consideration on who holds your domain name, so mostly pick this based on your preference of cost and convenience.
In terms of what you should call your domain the only thing to consider is how easy it will be for users to search for it and what other words you'll be competing with in search results. I'll go into more details on this in another article but as a general rule of thumb; try to be unique and tailored to your site's content but not so obscure, long or difficult to write that writing it out with accuracy is too hard.
This is where the code that makes your site actually work lives and ties your hosting and domain together. You can create this locally on your machine, but as a layman you'll usually get your hosting panel to do this for you.
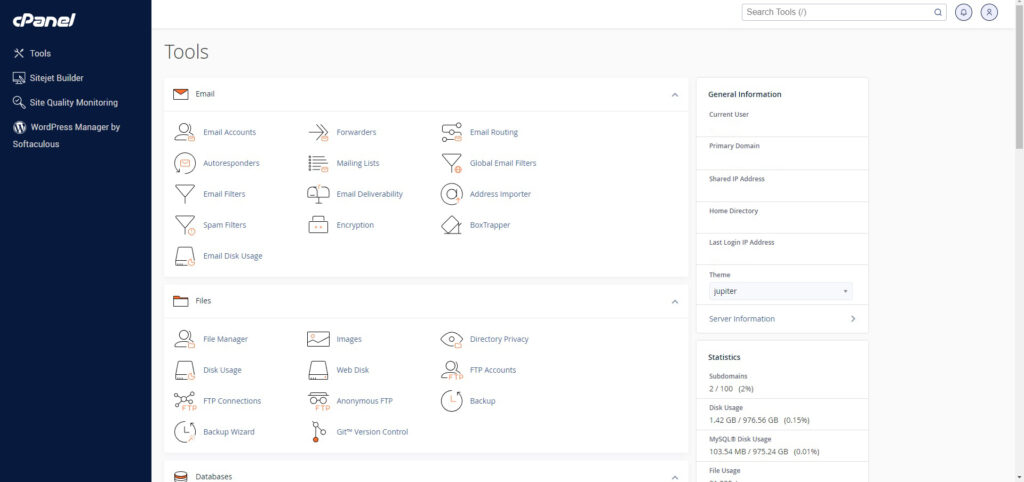
Once you have your hosting, you'll find a link to your hosting environment - most of these use a software called cpanel or an equivalent. It's dense as you'd expect, but you only really need to interact with 3 parts of it for this process.
Firstly, if you are using WordPress, you can just use the Softaculous wizard tool to set it up for you. It will set it up with a few defaults and plugins pre-installed, but you can customise it from there with not too much hassle.
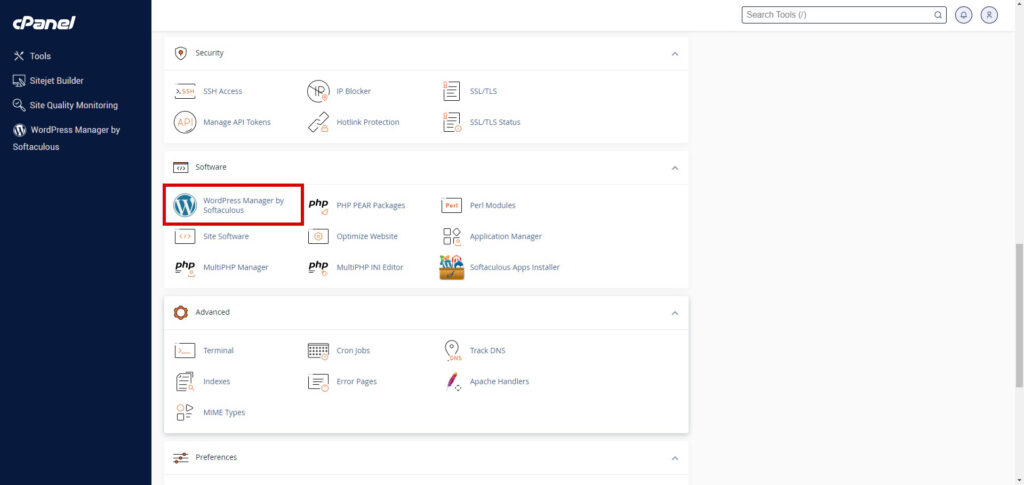
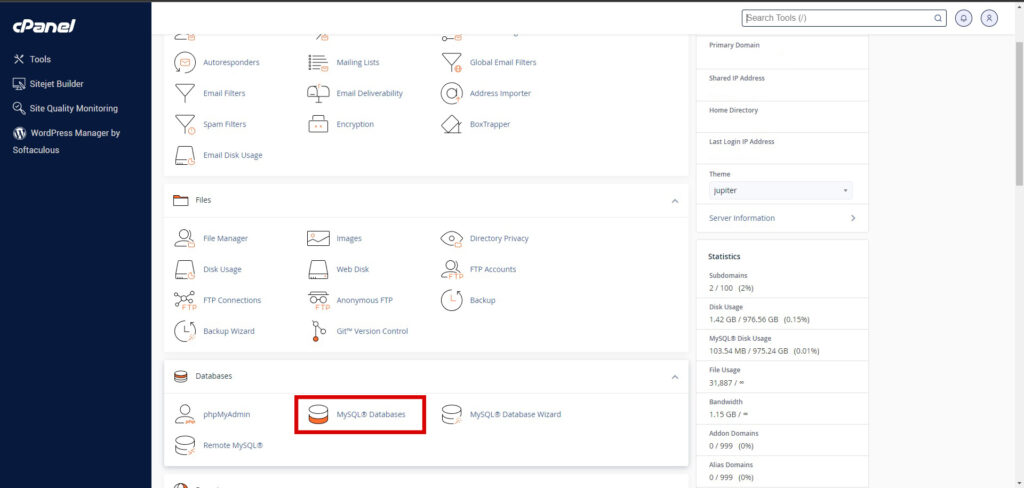
But if you want to do it manually, which you will have to do if creating sub-domain sites in the future you'll need to start by manually creating a database. You can do this in "My SQL Databases".
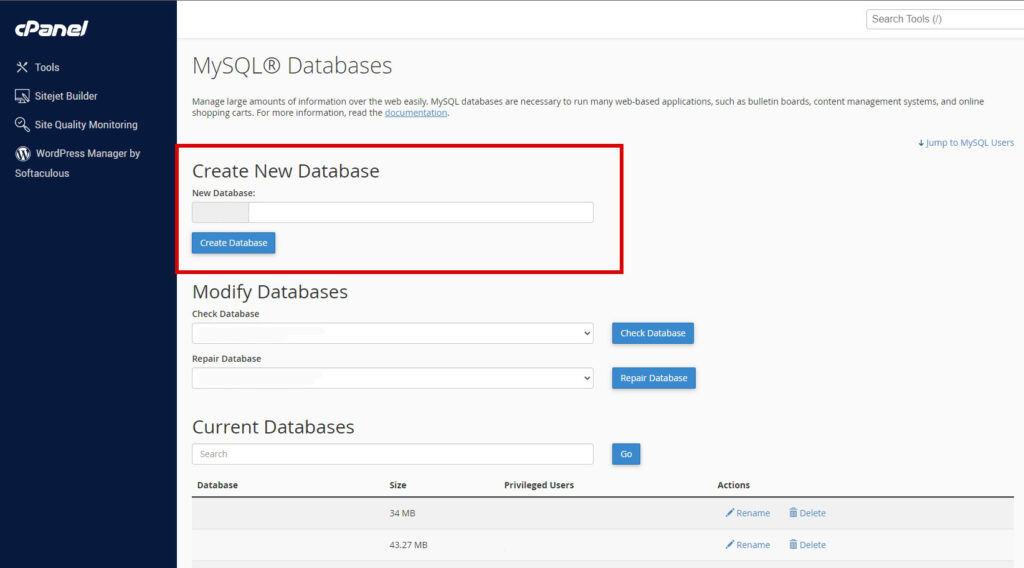
Upon clicking this, you'll be presented with the following screen. From here you'll need to name your database and then press the create button. You can name this whatever you want to. Ideally it should be something obvious so you can tell what it is later or if you add more databases in the future.
Once you've done that, you'll need to scroll down the page to the users section. Here you'll need to create a user for the database and a password for it. Again, this can be anything, but in this case the easiest thing to do is just name your user the same thing as your database. You should take the strong password suggestion seriously here - if your site is going to be really horribly hacked this is the password that they'll need to get through, so using the password generator here isn't a bad idea.
You'll need it later in this process, so just make sure that you copy it somewhere and hold onto it in case the worst case scenario happens in the future.
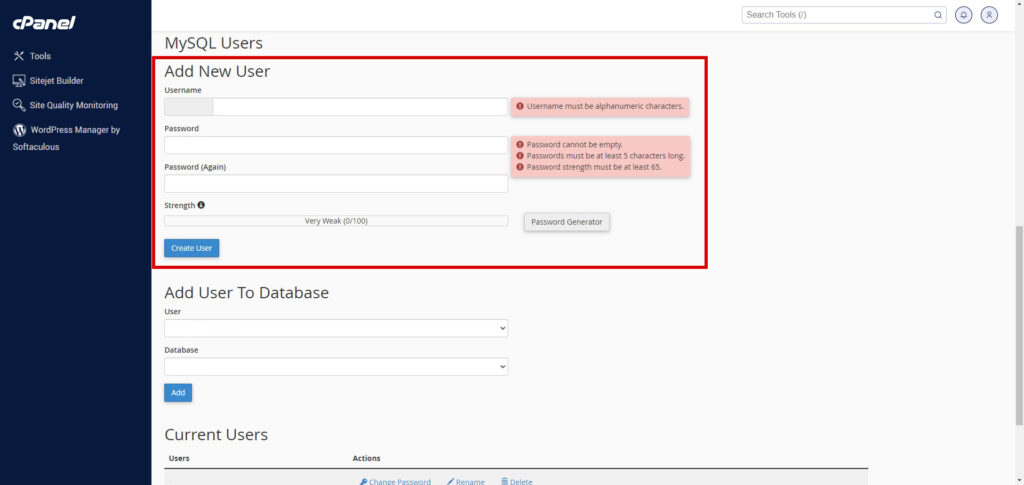
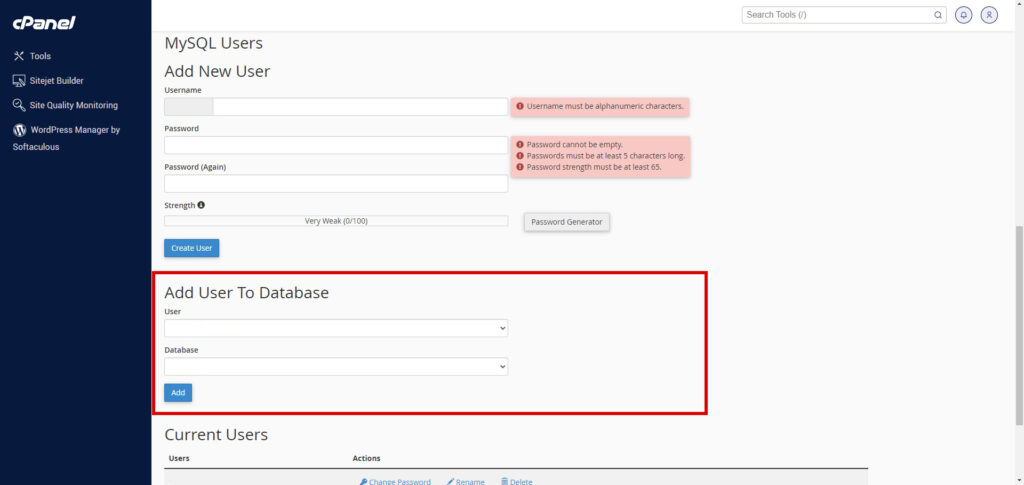
Once that is done, you'll then use the fields under these to connect your newly created database and user together. Simply select your user and you database with the dropdowns, then click "add".
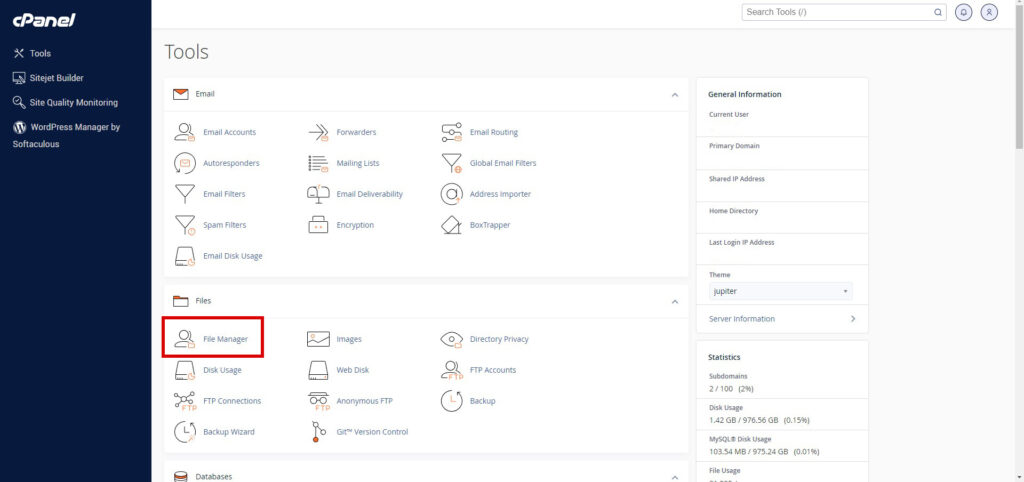
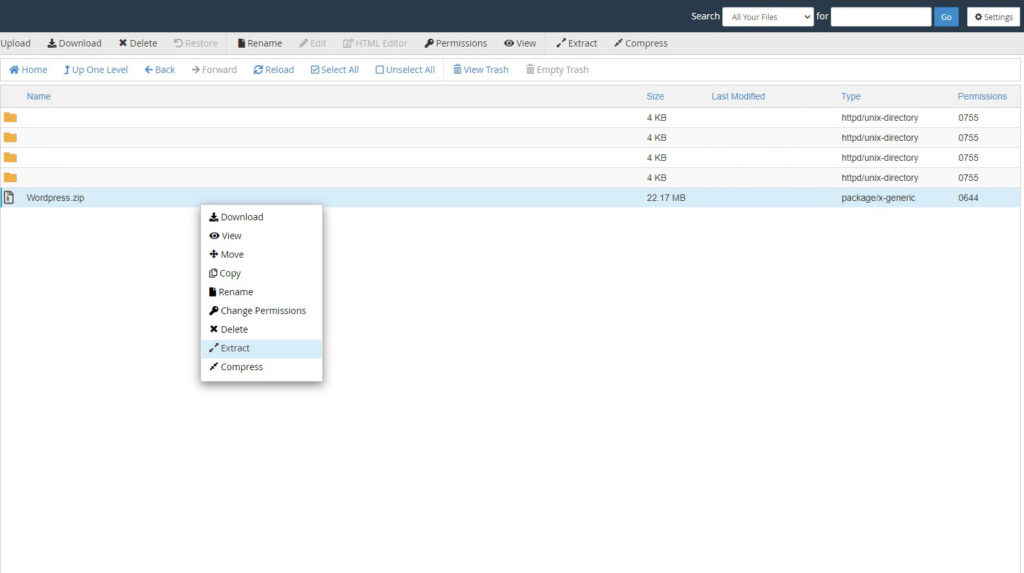
From here you'll now need to go back out to the main cpanel dashboard and find the file manager.
Once in the file manager, you'll be presented with something that looks like the following. It works just like your file system on your PC or Mac but just a little clunkier. The left bar is the overview of all of the folders on your site. A lot of these are going to be empty at first, but your site will use them in future so unless you know what you're doing, don't delete them.
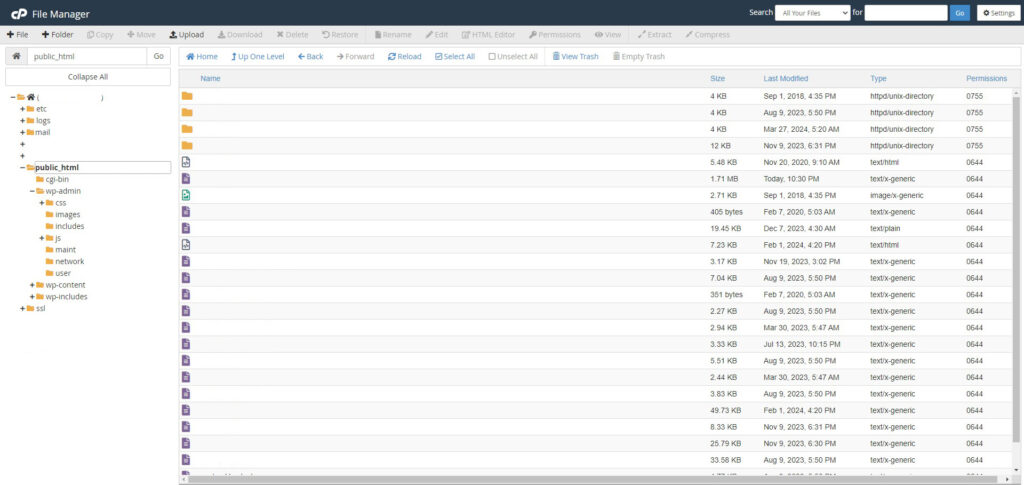
Navigate to public_html. public_html is the default front end of your website, so any CMS you choose to use will live here. From here, fetch your CMS of choice - in this case I'll use WordPress as the example, but you can download whatever you want.
Most CMS sites offer their software as a free download, such as WordPress' here. Download your zip of choice.
Upload this to the public_html folder using the upload button at the top of the window, or simply drop it into the folder. Then extract the folder here by right clicking it.
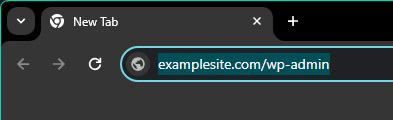
From here you just need to go through your CMS of choice's setup. Each one has a different way of accessing it's controls, but for WordPress in this instance it is going to be (insertyourdomain)/wp-admin. This is where you'll need your user and password for your database that you set up earlier and will also be the link you use to access all of the administration controls for your site from now on.
Simply follow the steps it takes you through, including the creation of your administration account for the website that you'll use to login for the future so make sure it's something you can easily remember.
Once that is done your site is live! It's going to be more or less blank at this point, but you can see it by simply typing in your domain name into your web browser.

